Crumpet Rings vs. Silicone Molds: A Comparison for Home Bakers
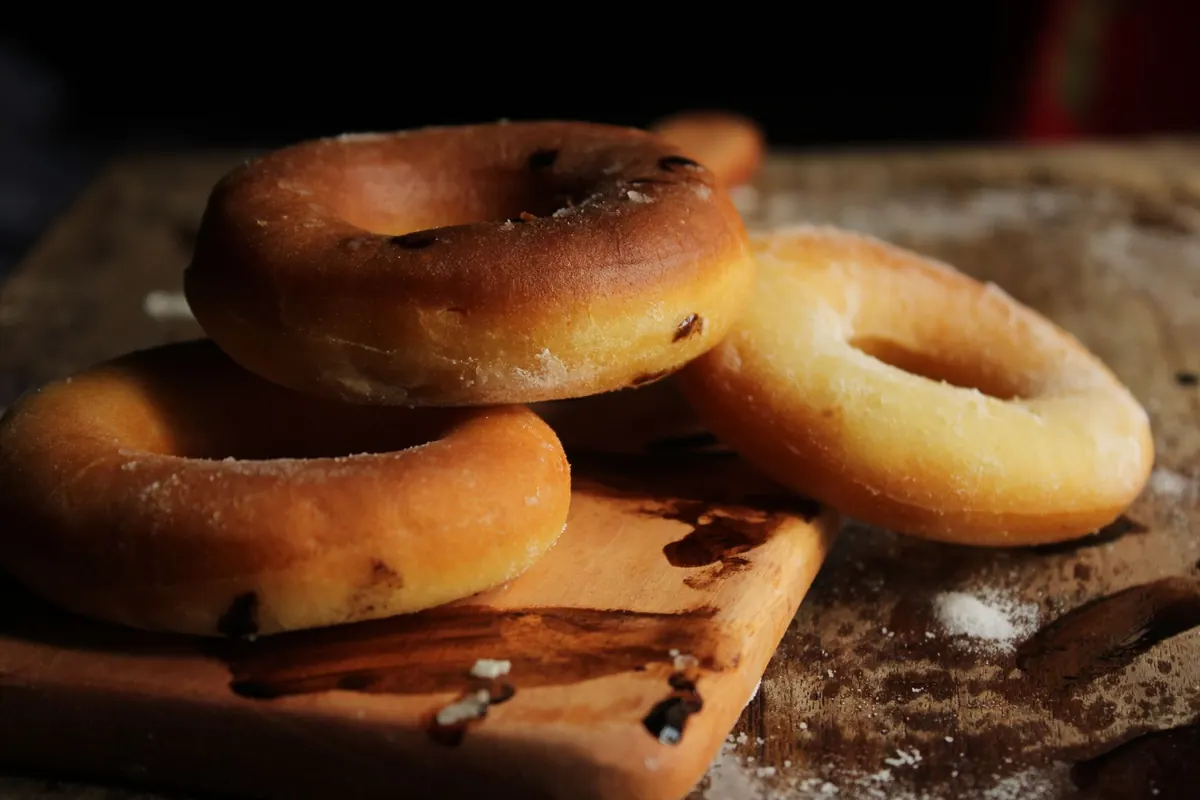
There is a moment in crumpet making when everything is decided: the batter hits the hot griddle, the ring contains it, and the first bubbles break on the surface. Metal rings and silicone molds both look like simple circles, but they behave differently on heat, and those differences show up in the crust, the height and the holes.
What Each Tool Actually Is
A traditional crumpet ring is a straight-sided metal band, usually aluminium or stainless steel, roughly 8–9cm across and 2–3cm deep. It sits on a preheated griddle or heavy frying pan and the batter is poured inside. The metal gets hot, and that heat passes straight into the batter touching it.
Silicone molds come as individual flexible rings or as trays with several shallow wells. Both are designed with oven baking in mind, and both rely on being non-stick rather than on conducting heat. That distinction does most of the work in this comparison.
Browning and Crust
Metal rings transfer heat from the griddle into the batter at the edges, so the sides of the crumpet set quickly and take on colour. You get the pale, holey top and the faintly crisp golden band around the outside that makes a proper crumpet worth toasting.
Silicone insulates. Set a silicone ring on the same griddle and the batter against it stays cooler, so the sides never brown the same way. The crumpet cooks, but the edge stays soft and pale, closer to a pikelet or a thick pancake than the crumpet you would buy in a packet.
A note on heat limits
Silicone bakeware is rated to a maximum temperature, and a dry preheated pan can run hotter than that rating at the surface. Check the maker's figure before putting silicone anywhere near a griddle, and never leave it sitting empty on heat.
Release, Handling and Cleanup
Silicone wins on release, and it is not close. Nothing sticks to a good mold, and once the crumpet has set you can flex it free. The catch is handling: lifting a hot, limp ring off a griddle without smearing the crumpet takes practice, and tongs can pinch the sides closed.
Metal rings release cleanly if you treat them well. Grease the inside generously, get the ring hot before the batter goes in, and wait until the surface has set before you lift. A small palette knife or a pair of tongs does the job, and the ring will be fiercely hot, so grip it with a cloth.
Cleaning is comparable. Metal needs a soak and a scrub, and handwashing keeps the rings true. Silicone goes in the dishwasher but can develop a greasy film that needs hot water and washing-up liquid to shift.
Shape, Height and the Holes
Crumpet holes come from the batter, not the ring. Yeast, plus a little bicarbonate of soda added at the end of proving, creates gas, and the surface sets slowly enough for bubbles to rise, break and leave that cratered top. What the ring does is keep the batter deep enough for bubbles to travel and hold a vertical wall so the crumpet rises instead of spreading.
Silicone trays are often shallower than a proper ring, which gives you wide, flat rounds with a short rise. Flexible walls can bow outwards under a heavy batter, so the crumpet finishes slightly oval. Metal rings hold their shape because that is the whole point of them.
Whichever you use, the sequence is the same:
- Mix a batter thick enough to coat a spoon but slack enough to spread. Think double cream, not dough.
- Let it prove until the surface is covered in bubbles, usually around an hour depending on the yeast and the warmth of the room.
- Heat the griddle over a medium-low flame and grease the rings well.
- Fill each ring about halfway to two-thirds full. Overfilling means batter climbs the sides and spills.
- Cook until the top looks dry and matte and the bubbles have popped.
- Lift the ring, then flip briefly for a second browning or finish the tops under a hot grill.
Durability and Long-Term Cost
Metal rings last. Aluminium can warp if it meets a cold shock while hot, and thin steel rusts if left wet, but a set of four to six decent rings will still be in service years from now. Drying them properly is most of the battle.
Silicone has a shorter life. Repeated high heat makes it tacky, it can pick up the smell of whatever it cooked last, and cheap molds distort or tear at the rim. It is usually the cheaper starting point, which is a fair trade if you are experimenting rather than committing.
Which Should You Buy?
Work from what you actually want to cook.
- Classic crumpets with browned sides and a proper rise: metal rings. Nothing else does it.
- Oven-baked rounds, pikelets or crumpet-style muffins: silicone molds cope well and are easier to move on a baking tray.
- Cooking with children, or hands that struggle with hot metal: silicone is safer to touch and will not dent.
- A cramped kitchen drawer: individual silicone rings squash and stack; metal rings do not.
- Regular crumpet making: buy four to six rings at once so you can fill the griddle in one batch.
If you go for metal, look for straight sides, a rolled top edge for rigidity and a depth of at least 2cm. Pressed rings that taper or feel springy in the hand give you uneven crumpets.
The Short Answer
Buy metal rings for crumpets. Keep silicone for oven work, for small kitchens, or for trying crumpet batter as a tray of little rounds before you commit to a set of rings. The ring shapes the crumpet, but the batter decides whether it tastes good, so prove it fully, keep the heat moderate, and let the surface dry before you lift anything off the pan.
Photo: Jahra Tasfia Reza / Pexels